Install froxlor on Debian/Ubuntu using apt
froxlor provides packages for Debian and Ubuntu systems via its own repository.
0. Supported distribution versions and recommendations
Packages will be built for all supported debian/ubuntu distribution, see configuration templates.
| Distro | Version | Notes | Recommended source for ISO |
|---|---|---|---|
| Debian* | 12 (bookworm/stable), 11 (bullseye/oldstable) | oldoldstable is mostly supported | https://www.debian.org/distrib/netinst |
| Ubuntu | 22.04 (jammy), 20.04 (focal) | LTS releases only | https://ubuntu.com/download/server |
*Debian is the recommended and most likely best supported distribution for froxlor.
1. Edit apt sources
In order to install froxlor, we need to add the GPG keys and the repository to the APT sources ( key: FD88018B6F2D5390D051343FF6B4A8704F9E9BBC).
Debian
apt-get -y install apt-transport-https lsb-release ca-certificates curl gnupg
curl -sSLo /usr/share/keyrings/deb.froxlor.org-froxlor.gpg https://deb.froxlor.org/froxlor.gpg
sh -c 'echo "deb [signed-by=/usr/share/keyrings/deb.froxlor.org-froxlor.gpg] https://deb.froxlor.org/debian $(lsb_release -sc) main" > /etc/apt/sources.list.d/froxlor.list'
Ubuntu
apt-get -y install apt-transport-https lsb-release ca-certificates curl gnupg
curl -sSLo /usr/share/keyrings/deb.froxlor.org-froxlor.gpg https://deb.froxlor.org/froxlor.gpg
sh -c 'echo "deb [signed-by=/usr/share/keyrings/deb.froxlor.org-froxlor.gpg] https://deb.froxlor.org/ubuntu $(lsb_release -sc) main" > /etc/apt/sources.list.d/froxlor.list'
2. Update package list
To update the packages list and all the packages installed to the latest version, run the following command.:
apt-get update && apt-get upgrade
3. Install froxlor
Install froxlor together with all needed packages :
apt-get install froxlor
4. Create privileged database user
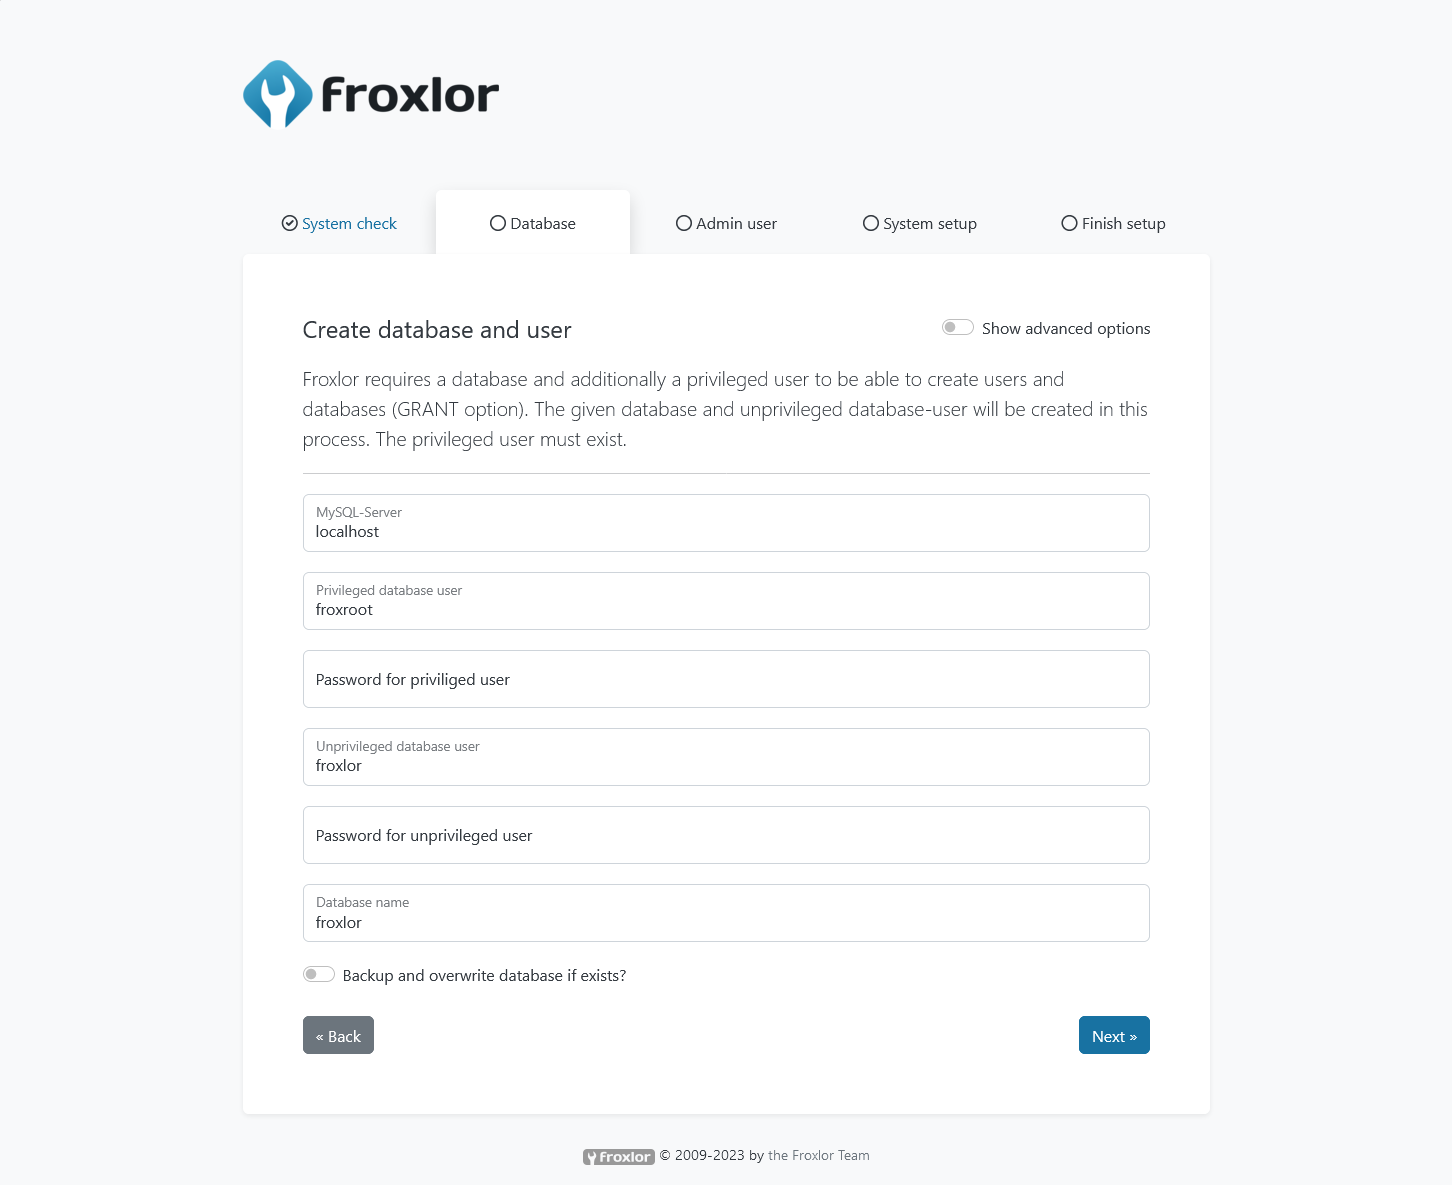
Log in to MySQL to create a new privileged user (e.g. froxroot) which is required for froxlor to add/delete customer mysql users and databases. You need to specify this user as the Privileged database user in the web-installer.
mysql -u root
To create the user, execute the following commands:
ATTENTION :
Please change the default password (CHANGEM3) in the first line!
CREATE USER 'froxroot'@'localhost' IDENTIFIED BY 'CHANGEM3';
GRANT ALL PRIVILEGES ON *.* TO 'froxroot'@'localhost' WITH GRANT OPTION;
FLUSH PRIVILEGES;
EXIT;
The Unprivileged database user must not exist as it will be created by the installer for you. The default username is froxlor but of course you can use any valid username you like.
5. Installation via Web-Installer
NOTE :
On some distributions, the default web-root directory differs from /var/www/html/. To access froxlor, you need to adjust the default virtual-host to set /var/www/html/ as document-root.
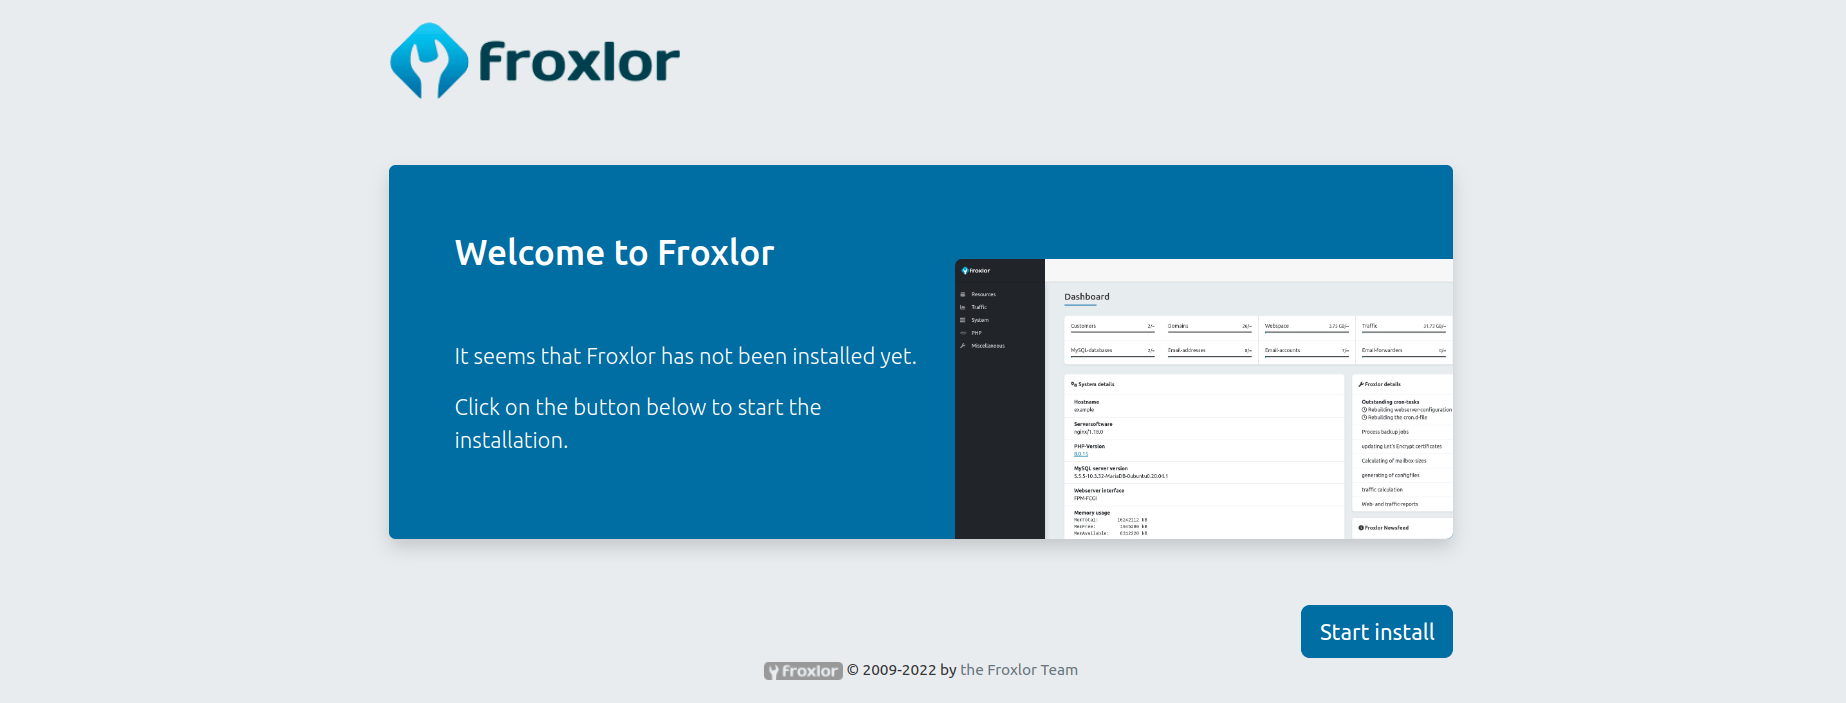
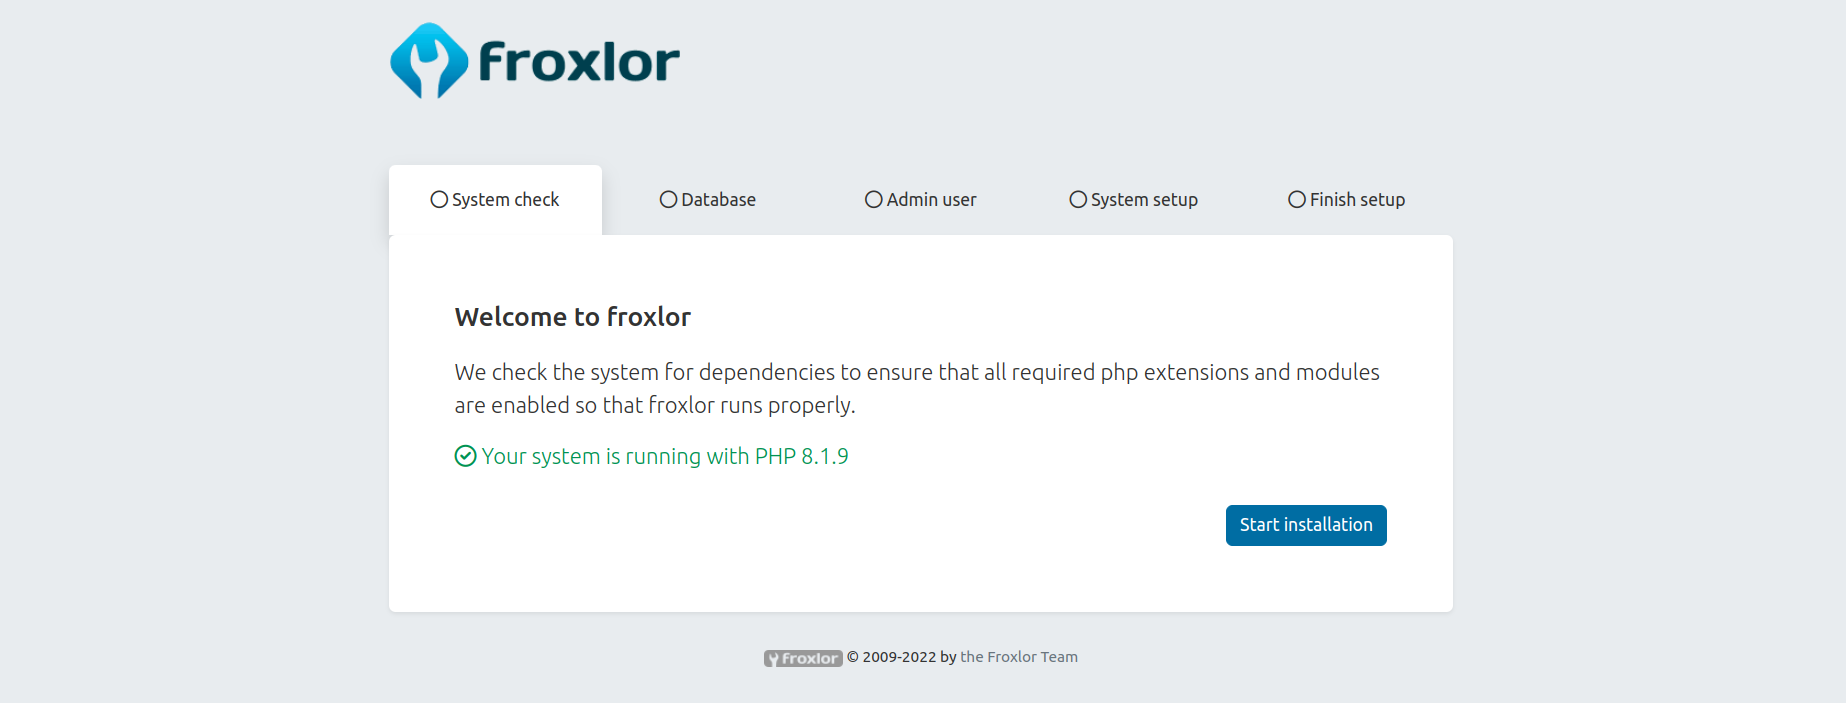
Now that you have extracted all the files you are ready to (re)start the webserver. You should now be able to access froxlor via http://{your-ip-address}/froxlor Just follow the installation-process and froxlor will be installed in no time.


The unprivileged MySQL user does not need to exist, it will be created using the provided root-privileged user by the installation process.

6. Configuration of services
→ See Configuration guide.


